OS Certificate Creation
In order for the push notification to work, you will need two .pem files:
- A certificate file stored using a pem format.
- A Key file stored using a pem format without a password.
Create a Certificate Signing Request file
With this file, we will create both a .p12 file and a .crt file.
To manually generate a Certificate, you need a Certificate Signing Request (CSR) file from your Mac. To create a CSR file, follow the instructions below to create one using Keychain Access.
Step 1
- In the Applications folder on your Mac, open the Utilities folder, and launch Keychain Access.
- Within the Keychain Access dropdown menu, select Keychain Access > Certificate Assistant > Request a Certificate from a Certificate Authority.
Step 2
- In the Certificate Information window, enter the following information:
- In the User Email Address field, enter your email address.
- In the Common Name field, create a name for your private key, for example,John Doe Dev Key.
- The CA Email Address field should be left empty.
- In the Request is group, select the Saved to disk option.
Step 3
In Keychain Access, click Continue to complete the CSR generating process.
Step 4
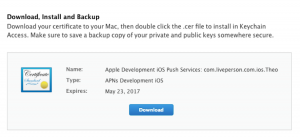
Download and run the certificate. The certificate is now added to your Keychain, paired with a private key:

Create a key .p12 file
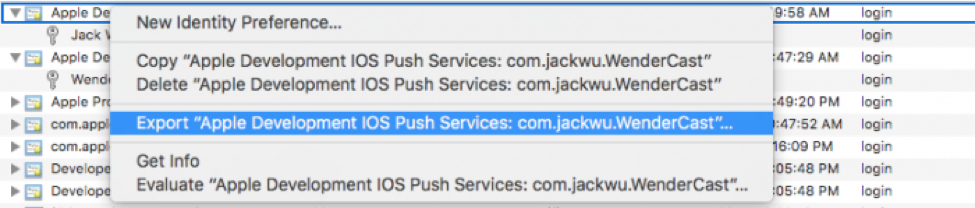
- Right-click on your new push certificate and choose Export.
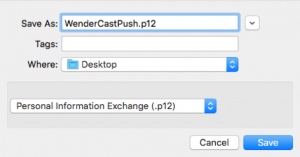
- Save the certificate as pushNotification.p12 as a .p12 file.
- You will be prompted to enter a password for the p12. You can either leave this blank or enter a password of your choosing.
Create a push notification certificate. (der format .crt file)
- In the iOS member area, go to your app area.
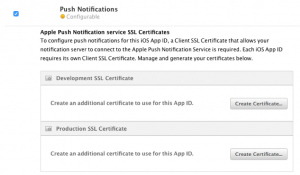
- Under Push Notification service SSL Certificates, select Create Certificate (Developer or Production).
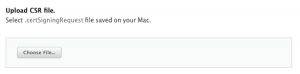
- Choose the .csr file that you created in the previous stage.
- Download the file. This file will be used to create the .pem format certificate.
Create both key.pem file and cert.pem file
Note: This is used when configuring ContactAtOnce Push Notification.
- Open the terminal and locate the folder in which you would like to save the file.
- Create cert pem: openssl x509 -in aps_development.cer -inform der -out dev-cert.pem
- Convert the private keys .p12 file into a .pem file: Using the Certificates.p12 file cp Certificates.p12 key.p12 and then the following command openssl pkcs12 -nocerts -out keyWithPassword.pem -in key.p12 You will be prompted to enter a passphrase for this file. Enter any password and remember it for the next step.
- RSA .pem key (enter a passphrase for the next step – I used “lpsn” as an example) openssl rsa -in keyWithPassword.pem -out hostkey.pem
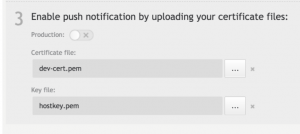
Upload into ContactAtOnce
- Certificate file should be : dev-cert.pem
- Key file should be : hostkey.pem